·7 min read
Let's turn a browser task into a Playwright test
Record a browser task with Playwright, then add a saved-result check. Run the same test against broken and working saves.
playwrighttestingtypescript
Published: · 4 min read
Learn Playwright from scratch. This step-by-step tutorial will have you writing your first automated test in under 10 minutes, no prior automation experience required.

By the end of this tutorial, you'll have:
You need Node.js 18+ installed. Check your version:
node --version
If you need to install Node.js, download it from nodejs.org.
That's it. No other dependencies required.
Open your terminal and create a new folder:
mkdir playwright-tutorial
cd playwright-tutorial
Run the Playwright installer:
npm init playwright@latest
You'll see some prompts. Accept the defaults:
After installation, you'll see:
Delete the example test and create a new file called tests/first.spec.ts:
import { test, expect } from '@playwright/test';
test('homepage has correct title', async ({ page }) => {
  await page.goto('https://playwright.dev');
  await expect(page).toHaveTitle(/Playwright/);
});
What this does:
In your terminal:
npx playwright test
You should see:
Running 1 test using 1 worker
✓ first.spec.ts:3:1 › homepage has correct title (1.2s)
1 passed (2.1s)
Congratulations! You just ran your first Playwright test.
Playwright generates beautiful HTML reports. View it:
npx playwright show-report
This opens a browser with your test results, including timing, screenshots, and traces.
Playwright's UI mode lets you watch tests run in real-time:
npx playwright test --ui
This opens a visual interface where you can:
Let's expand our test to click a link and verify navigation:
import { test, expect } from '@playwright/test';
test('can navigate to getting started page', async ({ page }) => {
  await page.goto('https://playwright.dev');
  // Click the Getting Started link
  await page.getByRole('link', { name: 'Get started' }).click();
  // Verify we're on the right page
  await expect(page).toHaveURL(/.*intro/);
  // Check the heading exists
  await expect(page.getByRole('heading', { name: 'Installation' })).toBeVisible();
});
New concepts:
Playwright can generate test code by recording your actions:
npx playwright codegen playwright.dev
This opens a browser. Click around, and Playwright writes code for you in real-time. Copy the generated code into your test file.
This is extremely useful for learning locators and speeding up test creation.
Locators:
Playwright finds elements using locators. Best practices:
Auto-waiting:
Playwright automatically waits for elements to be ready before interacting. No more:
await page.waitForSelector('.button'); // Not needed!
Just write:
await page.click('.button'); // Playwright handles waiting
This dramatically reduces flaky tests.
Now that you have the basics:
1. Using sleep/delay:
Bad:
await page.waitForTimeout(5000);
Good: Let Playwright's auto-waiting handle it, or wait for specific conditions.
2. Fragile locators:
Bad:
page.locator('#app > div:nth-child(3) > button')
Good:
page.getByRole('button', { name: 'Submit' })
3. Not using test isolation:
Each test should be independent. Don't rely on state from previous tests.
Official docs: playwright.dev/docs/intro
Test generator:npx playwright codegen [url]
UI mode:npx playwright test --ui
Report viewer:npx playwright show-report
If you're building a test automation framework for your team and want guidance from someone who's done it at Apple and Fortune 500 companies, I offer consulting and training.
Get notified when I publish something new, and unsubscribe at any time.
·7 min read
Record a browser task with Playwright, then add a saved-result check. Run the same test against broken and working saves.
·5 min read
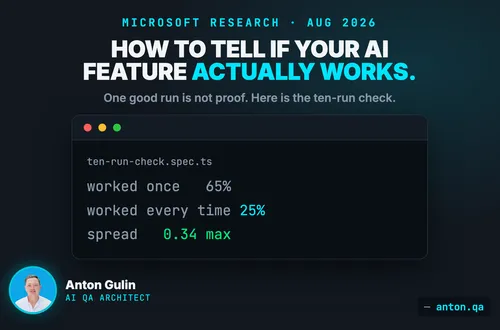
One good run is not proof. Microsoft measured a 40-point gap between working once and working every time. Here is the ten-run check, in Playwright, with code.
·4 min read
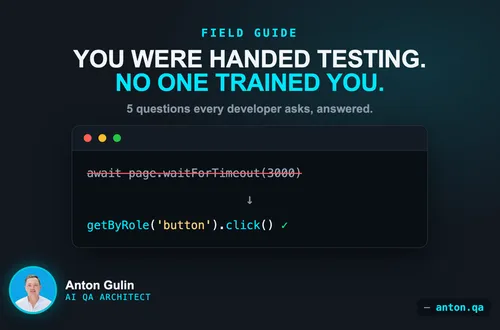
Shift-left made developers own testing. Here are the five questions every developer asks when handed Playwright, answered with code.